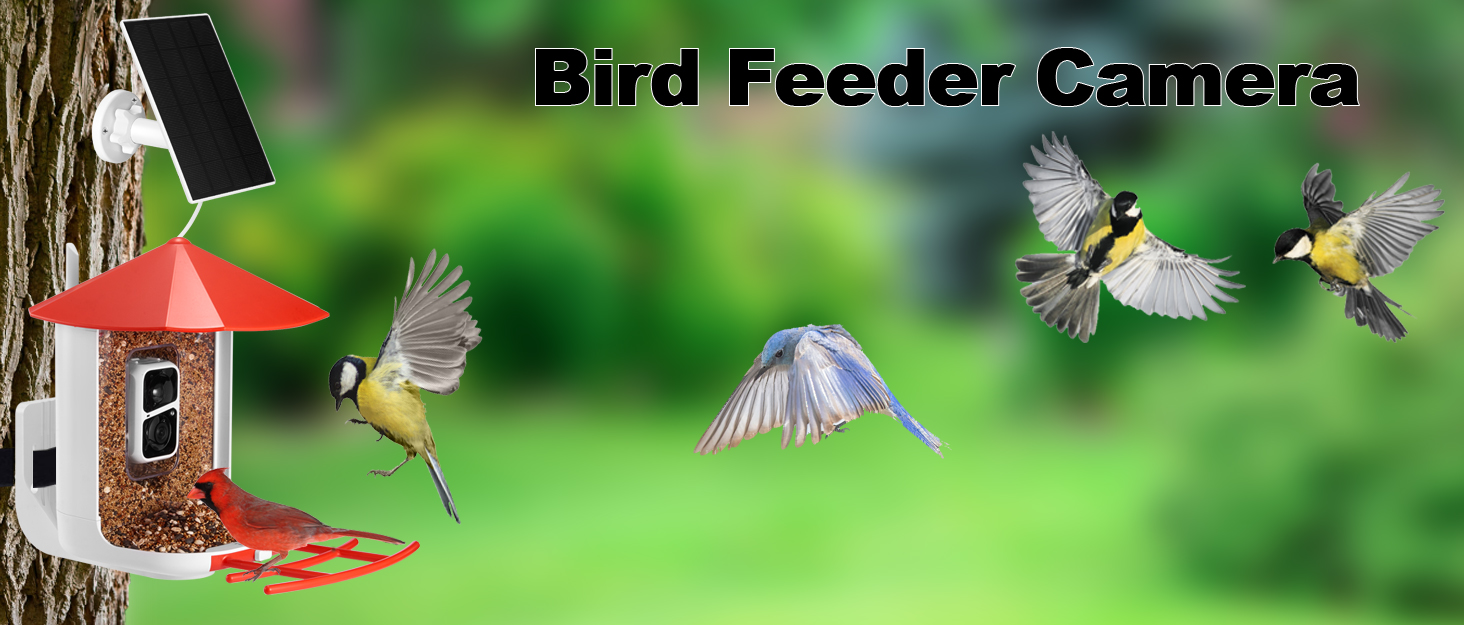
Watching birds from the comfort of your home is a delightful pastime, made even better with a camera-equipped bird feeder. But Mother Nature can be a tough customer. From scorching summer heat to freezing winter blizzards, your beloved feeder and its valuable camera system need protection to keep humming along and providing you with those cherished wildlife moments. This guide will walk you through effective strategies to safeguard your investment and ensure you enjoy years of feathered friends and stunning footage.
Why Weather Protection Matters
Exposure to the elements can significantly impact your camera bird feeder’s longevity and performance. Direct sunlight can overheat sensitive electronics, potentially damaging the camera and shortening its lifespan. Rain and snow can cause short circuits, leading to malfunction or complete failure. Extreme temperatures can affect the camera’s battery life, rendering it useless at crucial moments. And finally, strong winds can dislodge the feeder, damaging it or even causing injury. Protecting your feeder isn’t just about preserving your equipment; it’s about ensuring you continue to enjoy your birdwatching hobby for years to come.
Choosing the Right Shelter: Types and Considerations

The best way to protect your camera bird feeder is to provide it with a dedicated shelter. Several options exist, each with its own advantages and disadvantages:
A. Dedicated Bird Feeder Shelters:

Specifically designed for this purpose, these shelters often come with features like ventilation to prevent moisture build-up, weatherproof materials like polycarbonate or treated wood, and sturdy construction to withstand harsh winds. Consider the size of your feeder and choose a shelter that offers ample space without being too large and cumbersome.
B. DIY Solutions:

If you’re handy, you can build your own shelter. A simple roof structure made of waterproof materials like corrugated plastic or metal roofing can be effective. Be sure to allow for adequate ventilation to prevent condensation. Consider the aesthetics of your yard and choose materials that blend seamlessly with your surroundings.
C. Adapting Existing Structures:
You might already have a suitable structure in your garden that you can adapt, such as a small shed, overhanging eaves, or even a strategically placed bush. Ensure the chosen location protects your feeder from direct sunlight and heavy rainfall. Consider the wind direction in your area for optimal placement.
Material Matters: Weatherproofing Your Choice
No matter which shelter you choose, the materials used play a vital role in its effectiveness. Look for materials that are:
- Waterproof: This is paramount. Materials should repel water effectively and prevent leaks.
- UV-resistant: Prolonged exposure to sunlight can degrade many materials. Choose options that can withstand this.
- Durable: The shelter needs to withstand the forces of nature – wind, snow, and ice.
- Ventilated: Good airflow is critical to prevent moisture build-up and condensation.
Additional Protective Measures
Even with a shelter, additional steps can significantly enhance your feeder’s protection:
A. Heat Shield:
In extremely hot climates, a reflective heat shield can help prevent the camera and feeder from overheating. You can purchase ready-made shields or create your own from reflective materials.
B. Weatherproof Camera Housing:
If your camera isn’t already weatherproof, consider investing in a protective housing. These housings create an additional barrier against the elements and can significantly improve the camera’s longevity.
C. Regular Maintenance:
Periodically inspect your feeder and shelter for signs of damage or wear and tear. Clean away debris and leaves to maintain airflow and prevent water accumulation. This preventative maintenance will extend the life of your equipment.
D. Battery Management:
In cold weather, your camera’s battery may drain faster. Consider using rechargeable batteries with higher capacity, and perhaps even storing extra batteries in a warm place.
Troubleshooting Common Problems

Despite your best efforts, problems might still arise. Here are some common issues and how to address them:
- Condensation: Improve ventilation by creating more airflow gaps in the shelter.
- Water Leakage: Check the shelter for cracks or gaps and reseal them with appropriate sealant.
- Overheating: Add a heat shield or reposition the feeder to reduce direct sunlight exposure.
By taking these precautions and following this guide, you can significantly extend the life of your camera bird feeder, enjoying years of captivating birdwatching experiences without worrying about the weather.